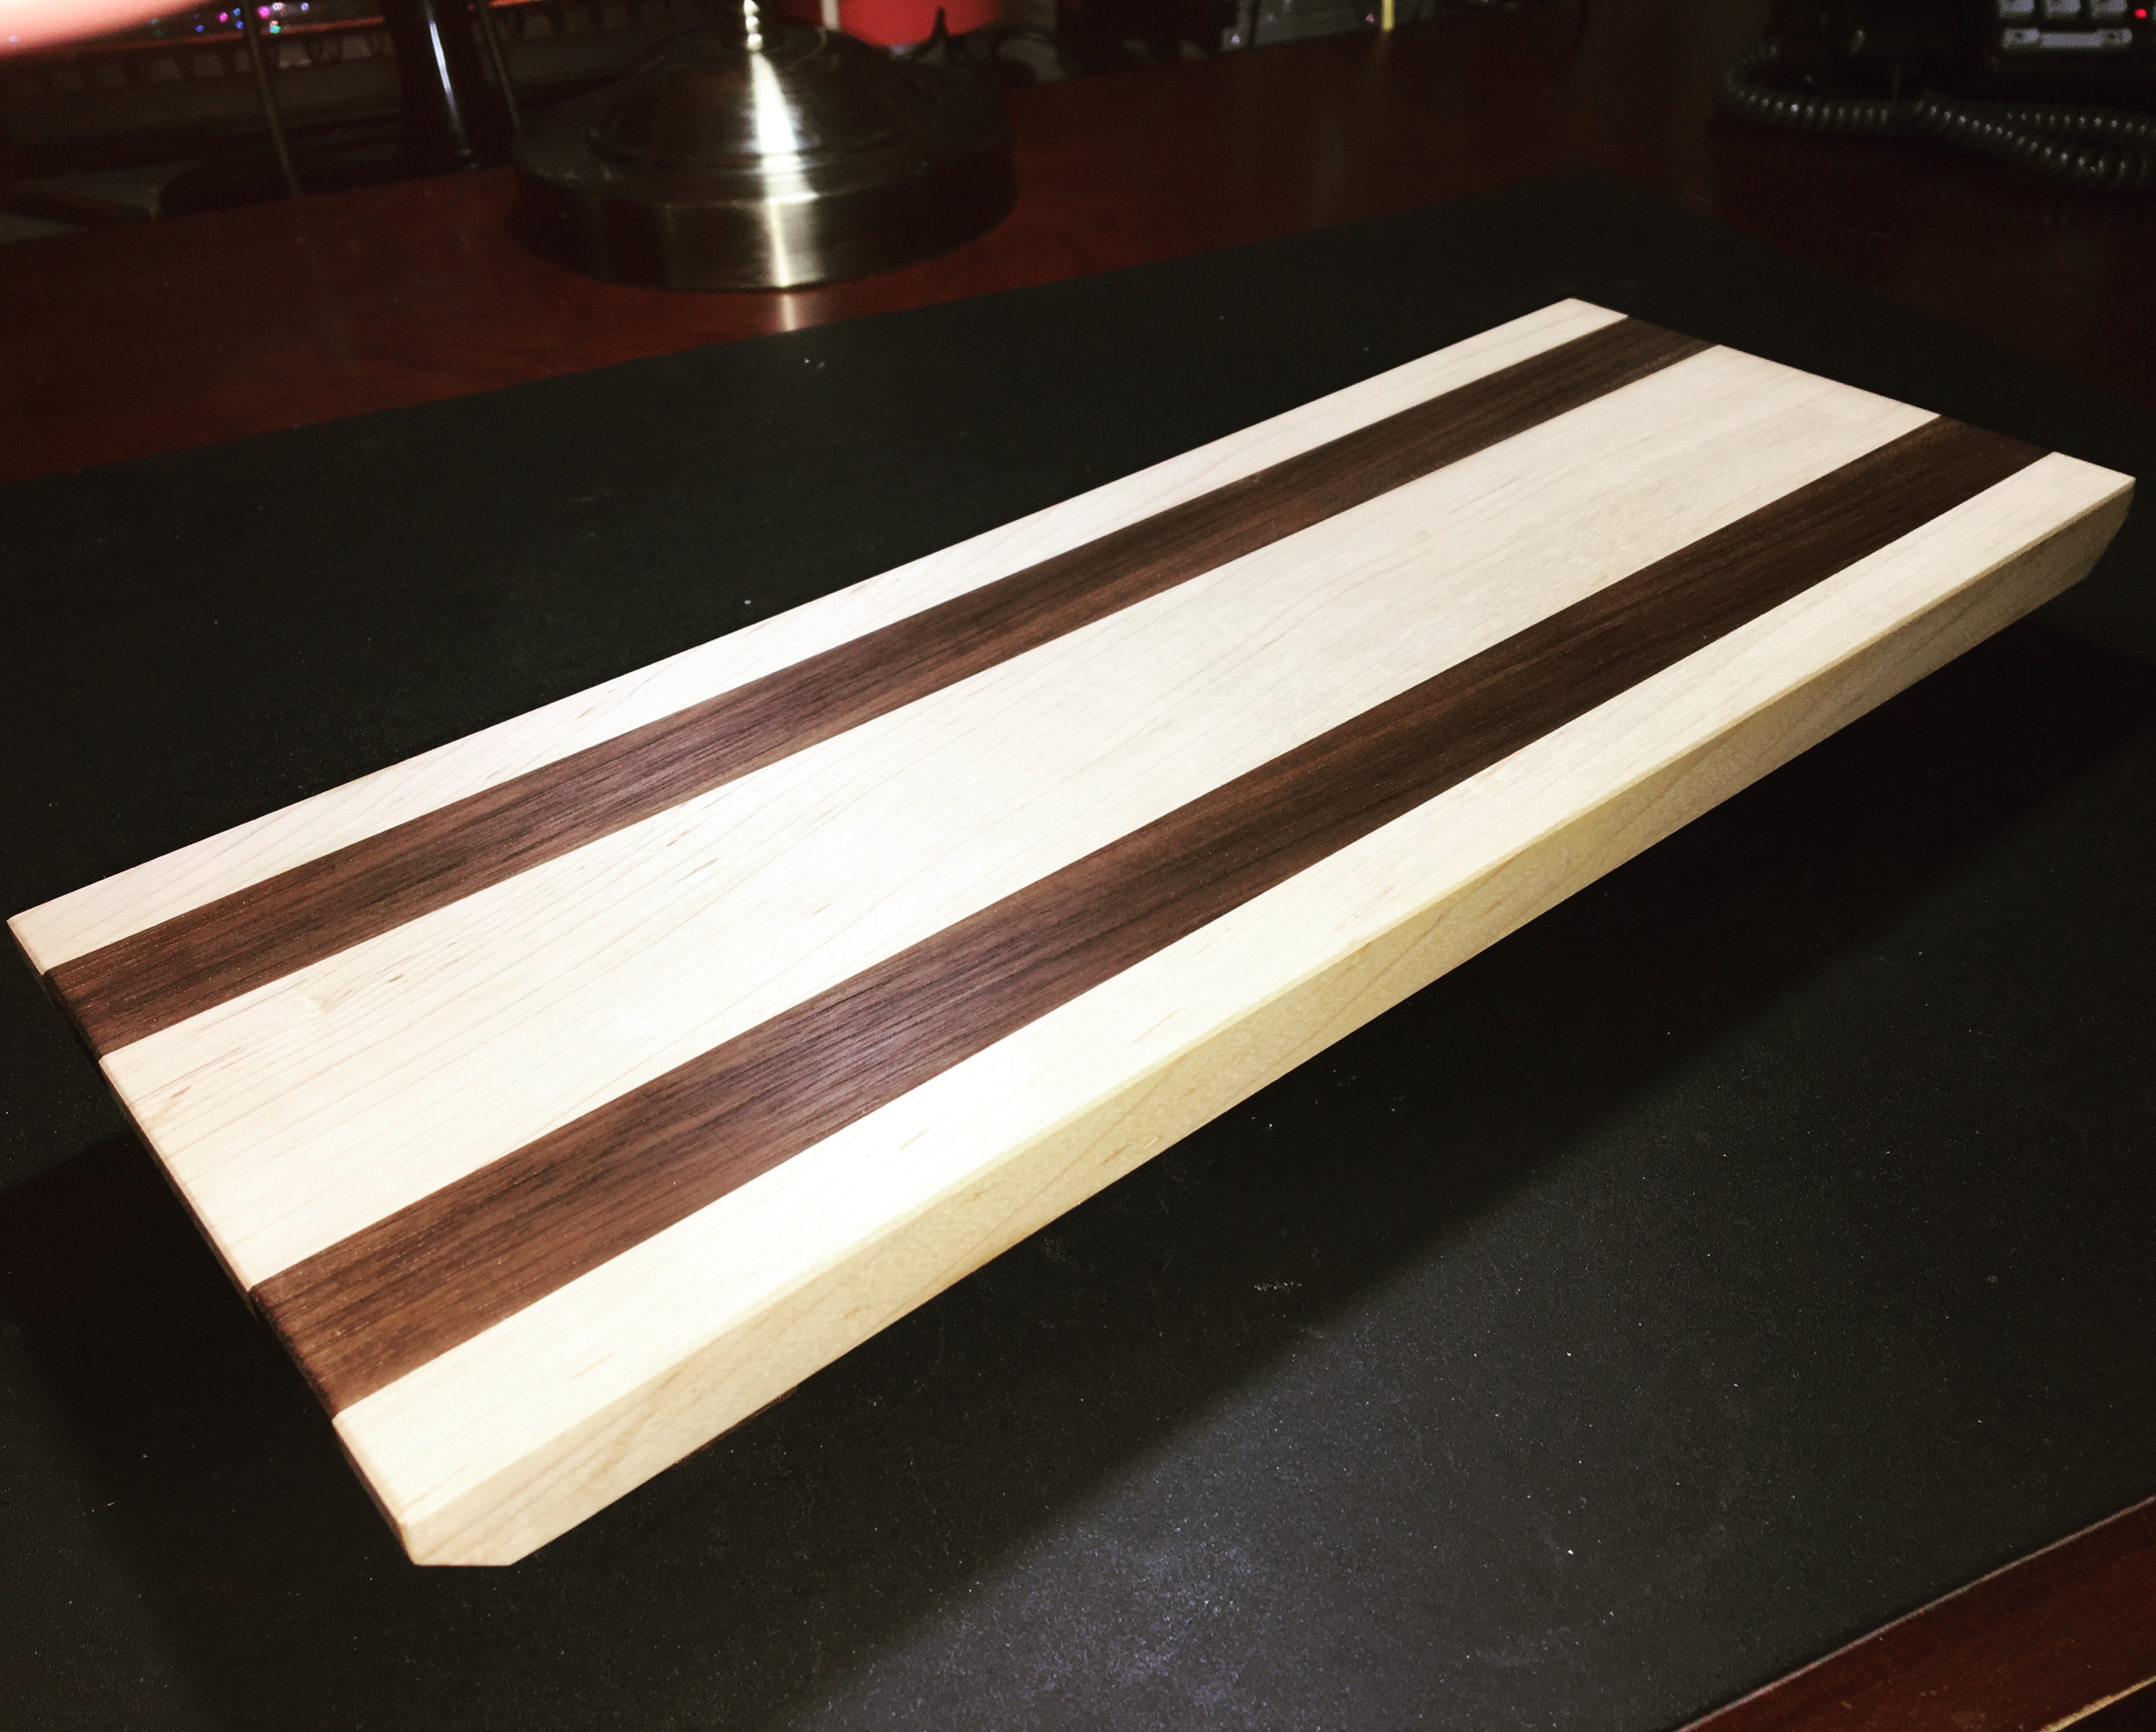
Sushi Cutting Board from David Picciuto’s ‘Make Your Own Cutting Boards’

As a wedding gift, I recently made the Sushi cutting board from David Picciuto’s book Make Your Own Cutting Boards: Smart Projects and Stylish Designs for a Hands-On Kitchen.

This cutting board really has an elegant design with an Eastern feel. The hard maple and walnut contrast nicely on a smaller project like this.

Sometimes, when shop time is at a premium, you’re really itching to use a particular tool. In this case I used my #4 smooth plane. It’s a joy to use and I believe it cut down the amount of time required to get to a smooth surface as opposed to going through each grit of sanding. I also eased many of the edges using my low angle block plane.

Buy David’s book on Amazon! – https://www.amazon.com/dp/1940611458/ref=cm_sw_r_tw_dp_x_G3ZdzbEH48A0A

Check out more of David’s work at Make Something:
https://makesomething.tv/
https://www.youtube.com/user/DrunkenWoodworker


100 Pieces Of Wood

GWW13

To celebrate their 100th day of the school year, my son’s homework tonight for his second grade class is to bring in a collection of 100 small items. We were going over our options of what he could bring in: maybe some Lego pieces, pennies… or how about pieces of wood? He loved the idea, especially when I offered some different species to make the selection of different colors. This was turning into a great opportunity for Get Woodworking Week!

IMG_20130206_192316

After cutting up 25 pieces each of pine, red oak, maple and walnut, my son helped me sand any of the rough edges. Then came sorting time. We labelled four sandwich bags for each of the species. We then talked about how each of the trees make a different color wood, with different grain and how some woods are harder or softer than others. Some of the red oak pieces had some of the bark still on them, so when my son asked why those were two colors, I got to explain how that was part of the bark from the tree still there, and that wood came from the outside part of the tree.

Of course, you don’t have to wait until Get Woodworking Week to teach your child about woodworking, take any opportunity to do that! It just so happened this opportunity came up this week!

Double Dose of Goodness

The months of November and December have been great ones here at the shop. Allow me to explain…

November – The Puja Table is complete!

The Puja Table, the project that I had been working on for the better part of the past year, was finished back in November and given to my friend who it was for. This was my second furniture piece, and my first commission. When I completed my son’s work table and posted it on Facebook, he approached me about building him the puja table. After discussing some design items, and what wood to use, he gave me a deposit to buy the materials.

One of the reasons I did not cover the project in too much detail before (one blog post and one video), is that by the time the project was really taking shape, it was also getting to be a while since he asked for it. I spent a good amount of time sweating the details. I must honestly say he was more than patient though, which I really appreciated. My focus however, especially between August and November, was to finish it up to deliver to him before Thanksgiving.

When it was delivered, he was more than happy with the result. My first commission ended with a happy customer!

I had a few things I set as woodworking goals for this project.

  • I had worked with walnut some when making some paddle cutting boards and really liked how it is to work with. I helped “steer” my friend toward walnut as the primary species, as I really like the look of it as well. When I showed him some pictures online of projects made with walnut, he readily agreed.
  • Attempt a new joinery technique. This was my first attempt at sliding dovetails, which I used to join the leg pieced into the top. This definitely proved to be a challenge, especially with some limited tooling. With some finessing though, I was happy with the result.
  • This was also my first experience with spraying finish. In this case lacquer. Once I got the hang of it, things went pretty well. I did have to correct some overspraying and drip marks initially though.

Some pictures of the final piece. Click each for a larger view and info.


December – The Wood Whisperer Guild for Life!

I’m no longer one of those folks who can say that I never win anything. The Wood Whisperer had their yearly Holiday online party a couple of weeks ago, and as usual part of the festivities were prize giveaways. The prizes ranged from tshirts, USB thumb drives, DVDs, to Guild memberships. This year, saving it for last, the granddaddy prize was a lifetime Wood Whisperer Guild membership. When I heard my name as the winner, I had to pick my jaw up from my desk! I was surprised and excited beyond belief. I was now a Wood Whisperer Guild member for life!

Now, if you don’t have any experience with the Guild, you can find out more and sign up here. I joined the Guild last year when Marc had a one night sale (after the 2011 Holiday party) of 50% off. I was able to sign up for the three month option, which I then renewed that next spring for one year. Since then the Guild has been restructured to have various levels of access. You can gain access to the “a la carte” version, where you pick which projects you want, or an option to gain access to all the currently existing projects. Again, check out the link. There is a section that explains all the levels available that goes into more detail than what I am here.

So now the next question… why join the Guild? After all, there is a reason why I renewed my membership before winning the lifetime membership. In short, because it’s a great resource – both in knowledge and the community. The level of detail that Marc goes into in the videos that accompany each project is incredible. There is also access to help for your project, and interviews with experts that are recorded and posted if you can’t make a live event. Even if you’re not in a position to build the particular project that is ongoing at the time, the insight that you can gain when watching the videos can be easily brought to whatever project you are working on. Having that level of education at your fingertips really makes it a no brainer in my opinion.

So am I excited I won the lifetime Wood Whisperer Guild membership? “Heck yeah” would be an understatement.

Merry Christmas and Happy New Year everyone!

The Dove’s Long “Tale” | Lessons Learned About Sliding Dovetails

Finally Episode 2! As I mentioned in previous posts, I’ve been working on a puja table for a friend of mine. I have not filmed much of the process since I’ve already been working on it for a while and while he’s been very patient, I do want to get it to him as soon as possible. The legs are joined to the top of the table with sliding dovetails that are 12 1/2″ long and visible from both sides. I did find there was some interest when I posted a picture online of the first sliding dovetail, so I decided to capture some video of the second one. I did run into some technical difficulties with the filming, so as I explain in the video, I apologize for any quality and issues with the content being a bit disjointed. But I do hope that folks will still find some value to the content. I don’t claim to use the most orthodox method here, but it worked for me, and as I’ve seen with much woodworking content, there is more than one way to get a task done.