Tag: Workshop
-
How I Fixed My Incra 5000 Screwup
Back in Aug 2021, I bought an Incra 5000 miter sled, and since my tablesaw is left tilt and I got thrown off by the instructions, screwed up cutting the stationary piece. Here I describe how I fixed it. I posted this as a YouTube short back in Aug 2021, and realized I never posted…
-

Small Display Case | A Dad & Son Project!
I absolutely love that my son Ian came to me with a project idea that he wanted to build with me. While the negative is that he broke his wrist a few months ago, after getting signatures from us, the kids at school and his teachers, it turned into a bit of a badge of…
-
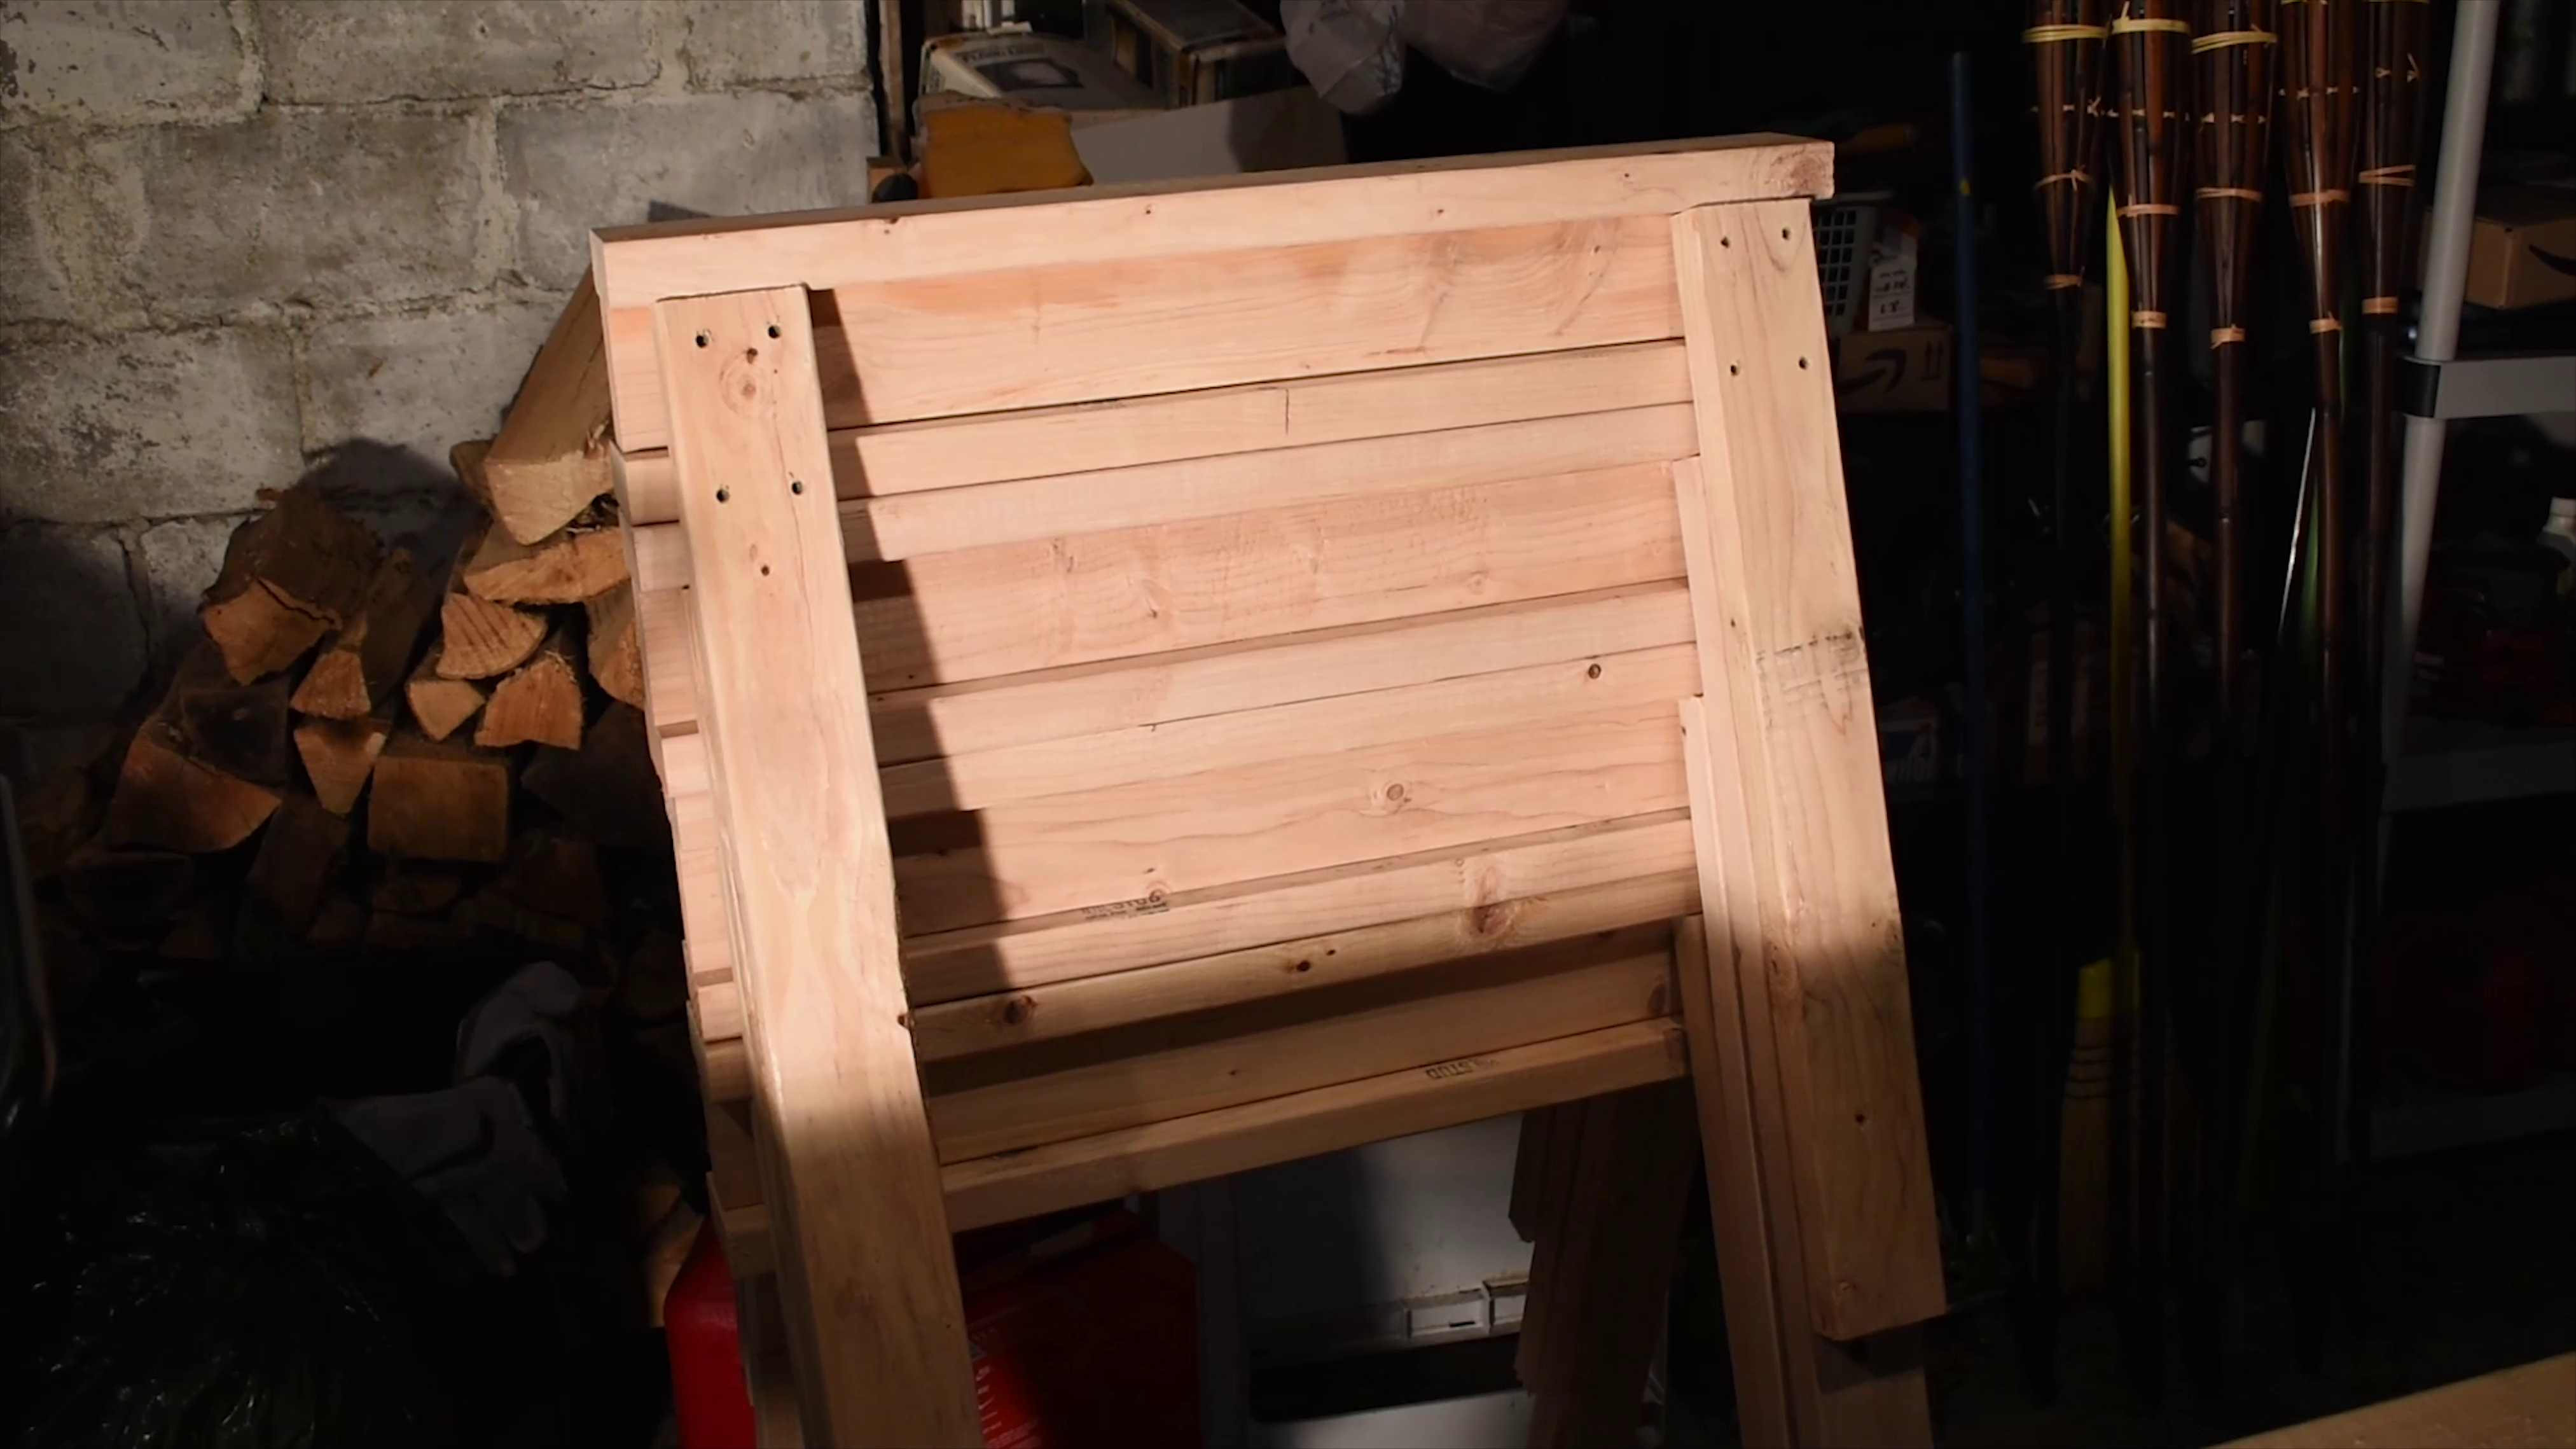
Simple Sawhorses
Sometimes everyone needs to do some shop builds. I used to have four of the plastic sawhorses, but I killed two of them when I built my workbench. I decided that my next set would be ones that I built. For these ones, each sawhorse gets three pieces of 2×4 cut to 32″ for the…
-
Argh! Rust!
I recently went into the shop after a few weeks of not being able to spend as much time in there as I would like, only to discover some rust on my combination square! So, this video talks about what I think happened, how I fixed it, and what general steps I take to try and…
-
Shop Tour 2015 & What’s on the Bench
It’s been quite some time since my last video, and even longer since my last shop tour. As mentioned in my last post, 2015 hasn’t seen much shop time until just the last couple of months. A lot has changed in the shop in that time. Now that I’ve been getting back into the shop,…
-
Happy New Year! Some New Year Goals for 2014
First things first… Happy New Year! I hope that you have a great and safe New Year, and that you all had a great Holiday season! In looking back over the last year, I have made some improvements to the shop, attended Fine Woodworking Live, and completed a couple of projects, but I wanted to…
-
Shop Updates Since The Video Tour
When I posted the Intro and Shop Tour video, I had some plans on how I could improve the shop. Since that video, I’ve been able to do a few things in the shop to get things further organized. I thought now might be a good time to share some of those updates.