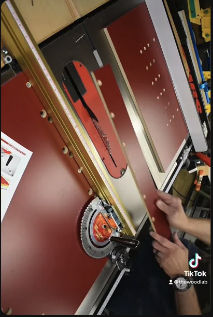
Argh! Rust!

I recently went into the shop after a few weeks of not being able to spend as much time in there as I would like, only to discover some rust on my combination square!

So, this video talks about what I think happened, how I fixed it, and what general steps I take to try and prevent rust on my tools.

What do you guys do to prevent rust in your shop? Leave a comment!

Links to the products I mention are below:

SlipIt
Jojoba Oil
Sandflex block (Fine)

A Woodworking Mindset During An Unintended Hiatus

Unfortunately, various events of late have kept me from getting into the shop as much as I would like. From end of summer and back to school, to giving my dad some extra help as my mother has experienced increasing health issues the last few weeks, I haven’t spent too much time in the shop from mid-August onward.

I did however, get a few hours on a Friday a couple of weeks ago to attend the Lie-Nielsen hand tool event in Manchester, CT. I have to say it was nice getting back into a woodworking setting and mindset. This particular event in Manchester, CT was hosted at the Connecticut Valley School of Woodworking. I’ve been to a few other Lie-Nielsen events, but this one by a good margin was the largest. Lie-Nielsen will often have another vendor or two with them, but there were several at this event: Tico Vogt (premium shooting board maker), Fine Woodworking Magazine, Catherine Kennedy (Tool Engraving), and others who I forget their name, but dealt with molding and wooden hand planes. If you have never been to one of these events, you owe it to yourself to try and get to one. You can test drive any tool they have there, and you get a great feel for what a quality, sharp tool should feel like. Ask a question, and you’ll get a detailed answer and/or a great demonstration.

So here are a few pics:


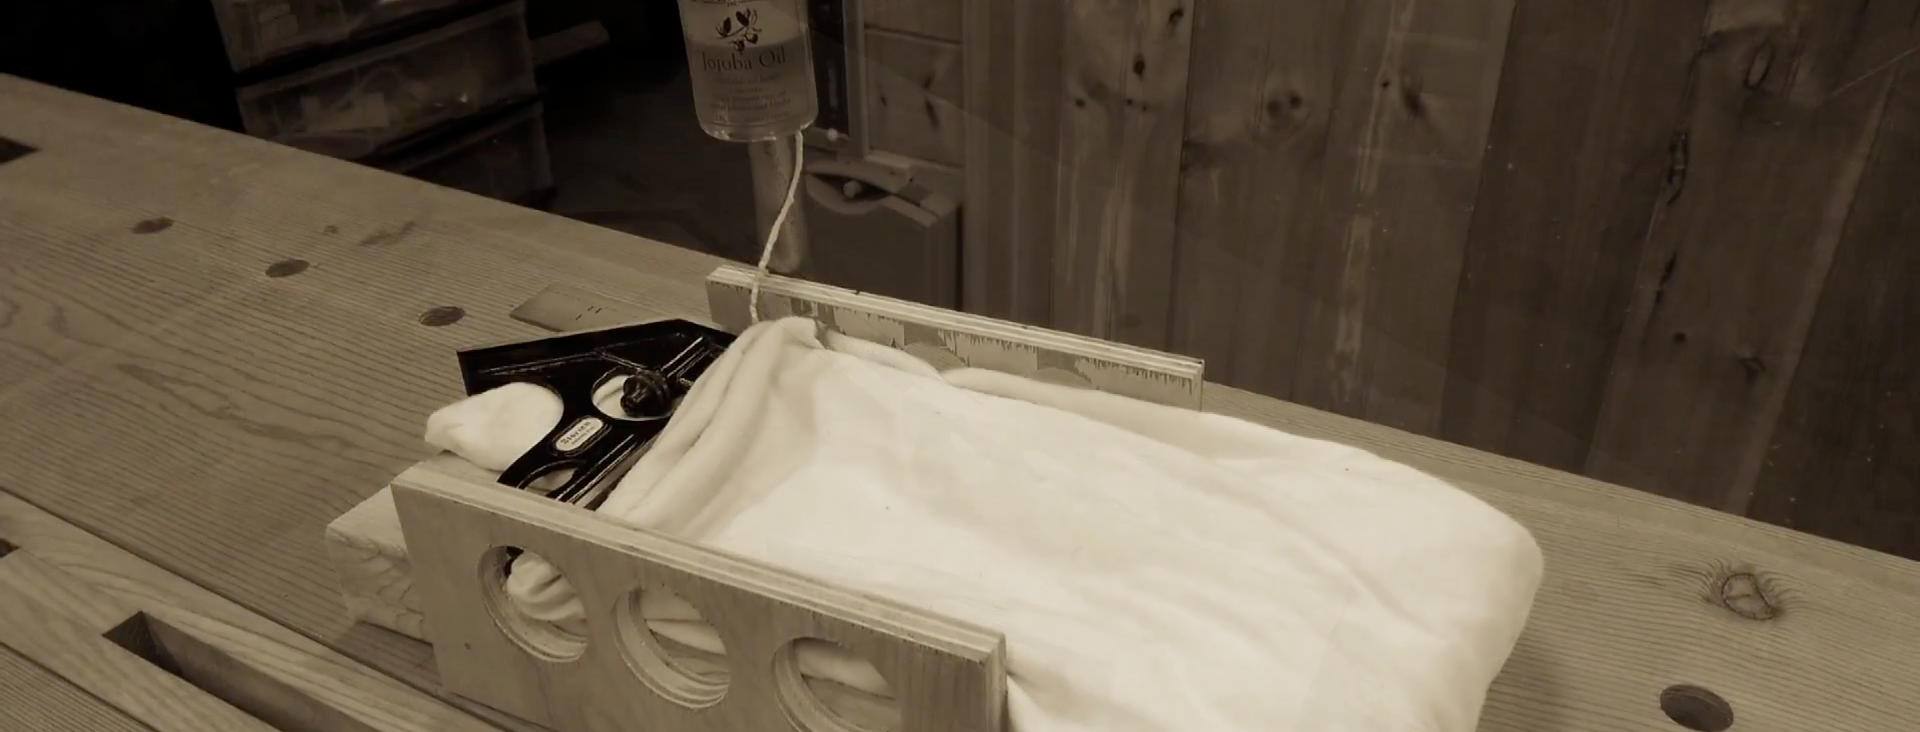
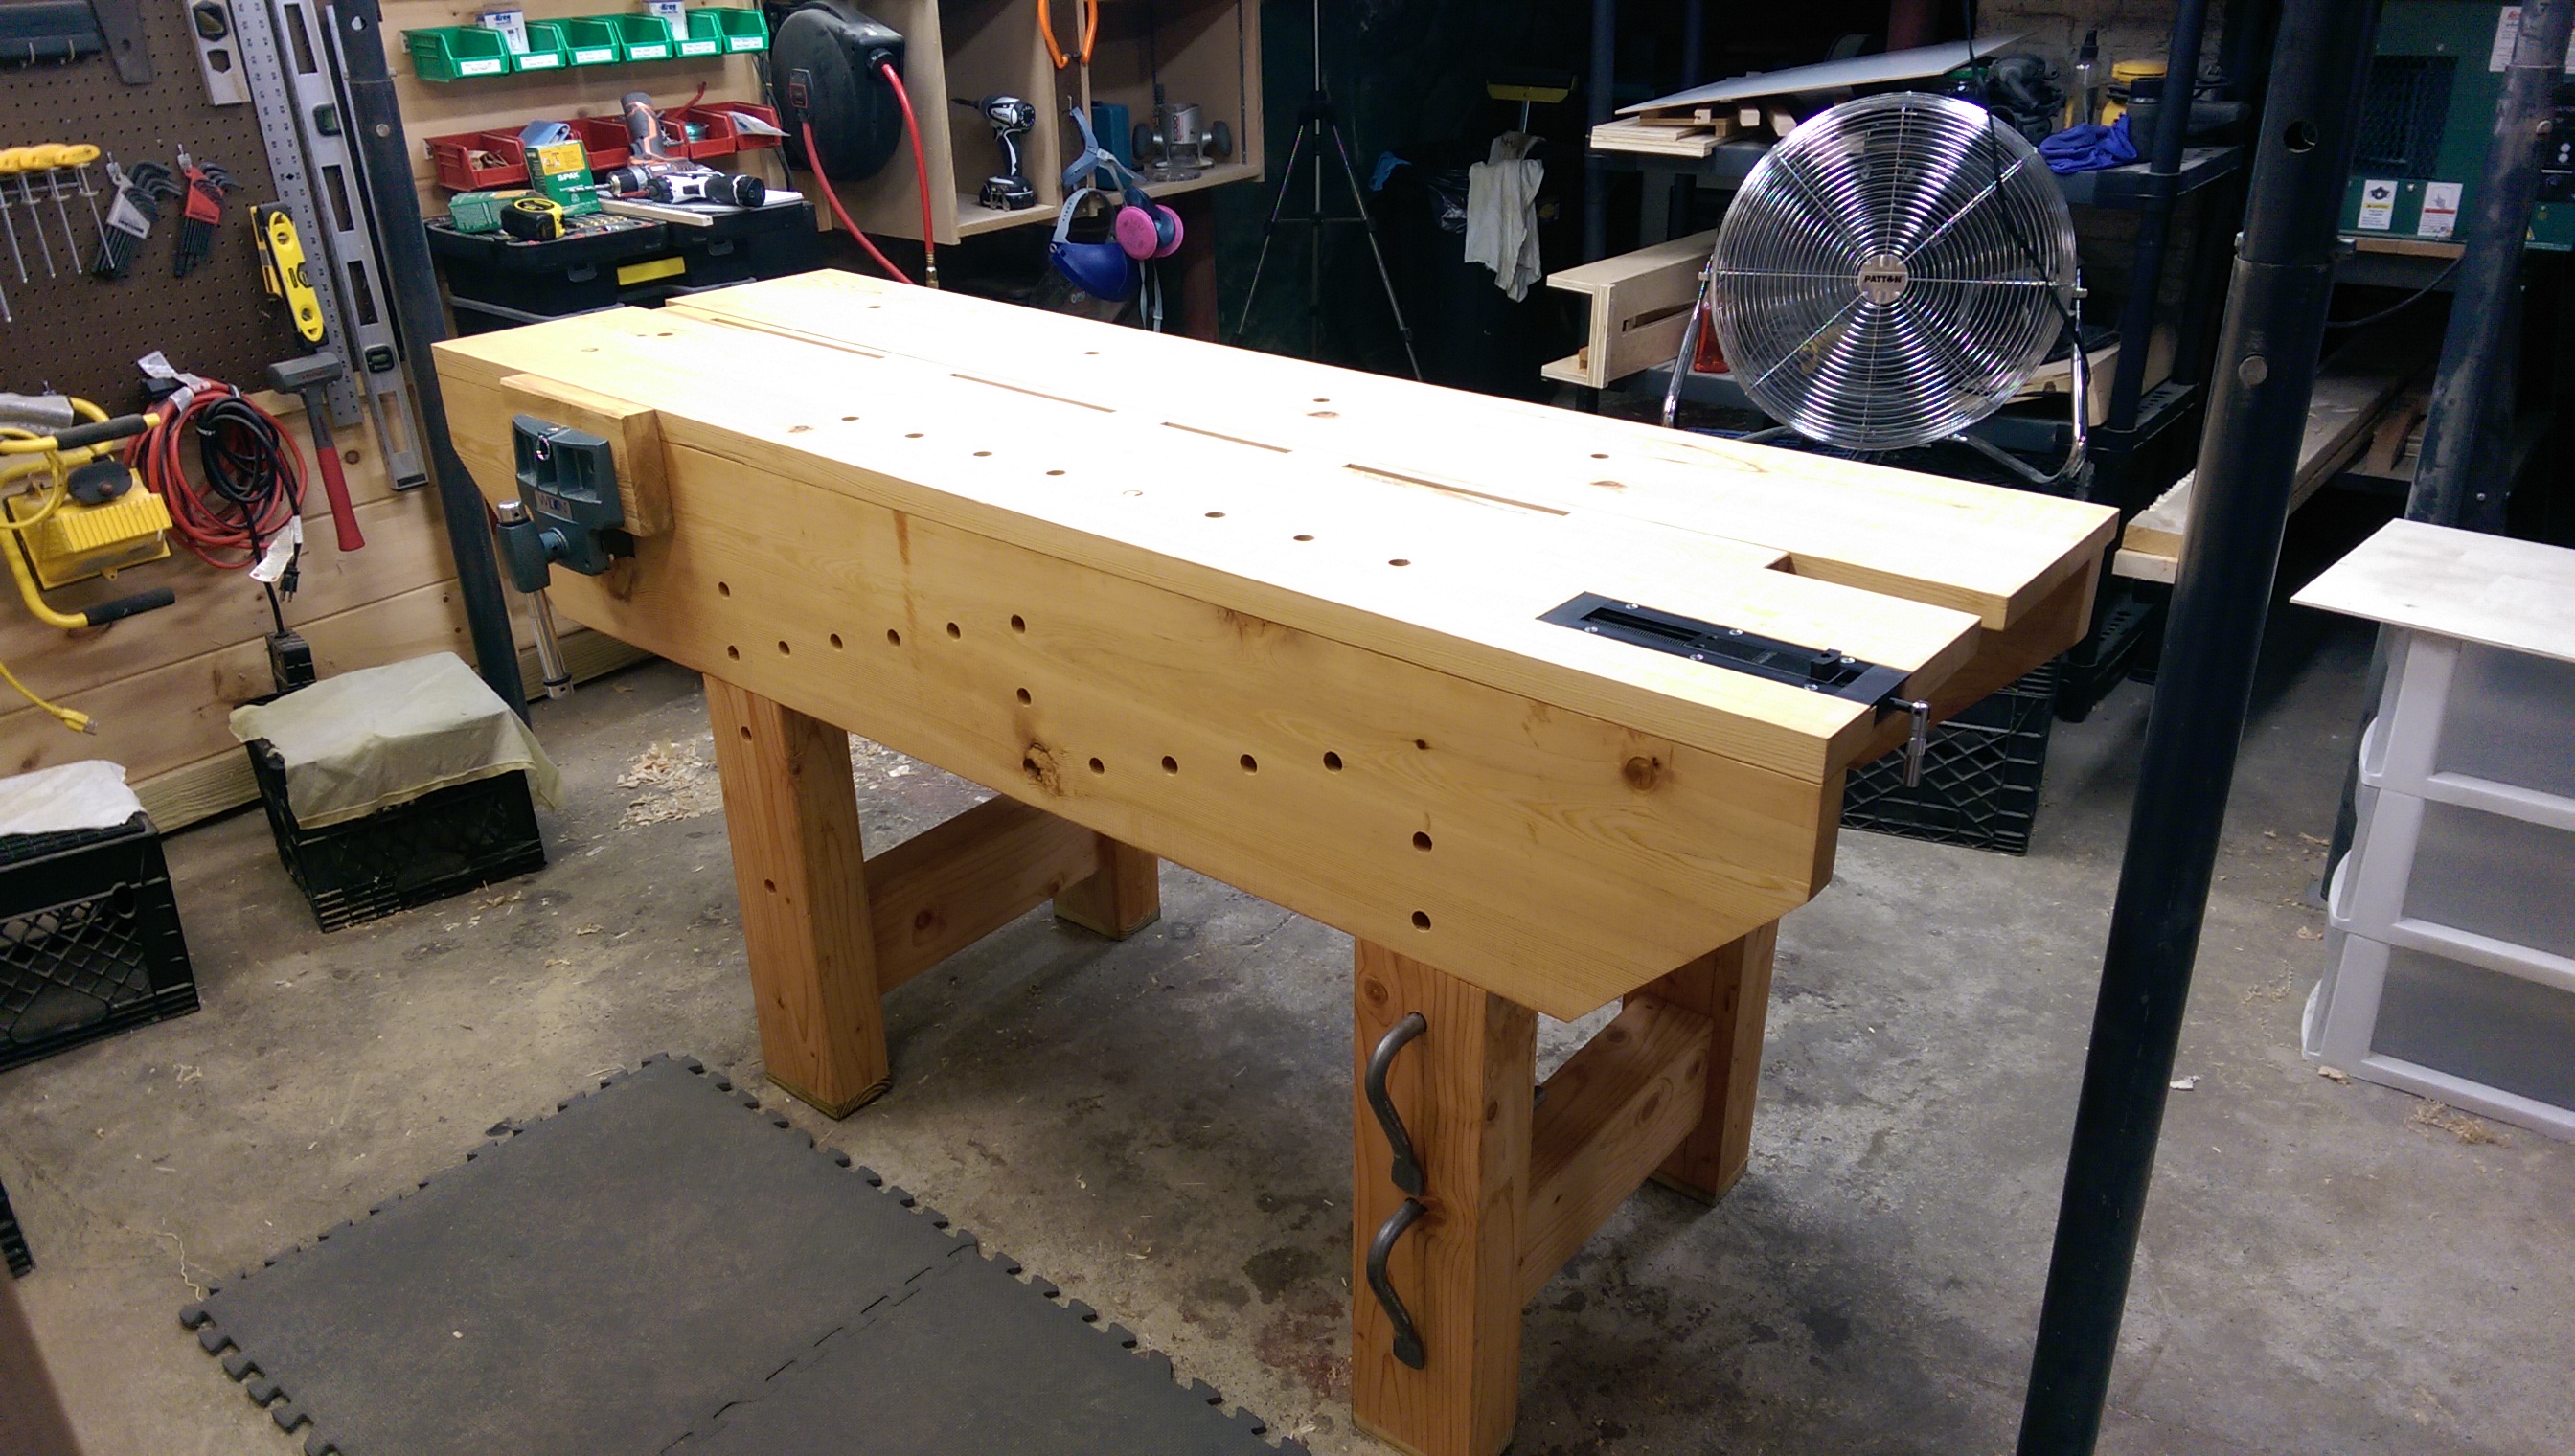
Time For A New Workbench | Nicholson Workbench Part 2

I had planned on getting part 2 of the Nicholson workbench walkthrough out sooner, but this little thing called summer got in the way a bit. Anyway… Enjoy!

Here is The Wood Whisperer episode demonstrating flattening a bench using a router… http://www.thewoodwhisperer.com/videos/flattening-workbenches-and-wide-boards-with-a-router/

Glen Huey’s Popular Woodworking video on dog holes using a router http://youtu.be/fKMYD8jYWWQ

Time For A New Workbench | Nicholson Workbench Part 1

I mentioned back in my New Year’s post that I intended to build a new workbench this year. What I had was not impossible, but not ideal either. I was always able to cobble together a solution to get a workpiece held in place, but it would cost more time in setup. Once it was in place, any sort of hand tool work would cause the bench to wobble and at times slide on  the floor.

When deciding on what type of bench I would build, I had a few things in mind:

  • The workbench should follow the basic rule of being a three dimensional clamping surface. Legs should be flush with the aprons (as outlined in Christopher Schwarz’s Workbenches: From Design & Theory to Construction & Use).
  • Economical. A workbench build can cost very little, or a relatively large amount of money. On the more expensive bench builds, one can easily spend $1400 or more between materials and vise hardware, which is perfectly fine for folks where that fits their budget. I firmly believe though that there is a bench that is suitable for just about any budget.
  • Flexible. By this, I mean a style that if you don’t follow specific plans to the letter, but take the overall idea and make it your own, you can come up with a bench that will suit your needs.
  • Heavy enough to not slide or move when doing hand tool work.

So what I chose was a Nicholson style bench, also known as an English joiner’s bench. Like the Roubo, it is a “clean slate” type of bench that allows for many different configurations of vise hardware and placements.  One of the characteristics of the Nicholson is that it can be made of construction grade lumber, which gives it a bit of an edge in the “Economical” department. For my bench, I went with douglas fir. Doug fir is more easily found than Southern Yellow Pine in construction grade lumber in my area. It’s tougher than the typical spruce construction grade stuff at the big box stores in the Northeast, but still softer than most furniture grade woods. I’d rather my bench get a ding, than my workpiece. While I built this bench, I took some video, and a bunch of pictures that I summarized in the “part 1” video above… So enough reading and now time for more viewing… check out the video! Thanks for watching!

Happy New Year! Some New Year Goals for 2014

First things first… Happy New Year! I hope that you have a great and safe New Year, and that you all had a great Holiday season!

In looking back over the last year, I have made some improvements to the shop, attended Fine Woodworking Live, and completed a couple of projects, but I wanted to outline some goals I have for 2014…

  • Since I’ve turned my table saw around 180 degrees from what I had before, I now have the space available for a true outfeed table. The roller stand I have is nice, and will certainly use it elsewhere, but it will be even more nice to not pick up offcuts off of the floor. The outfeed table will add safety and convenience.
  • This improvement is already in the works: I finally ordered an RF remote unit for my dust collector. No longer will I have to walk over, turn it on, then walk to the tool with the hose connected and then turn it on. Because of where the dust collector is, after I build the outfeed table, this will be a huge gain in convenience, since once the outfeed table is in place, the dust collector will be that much harder to get to.
  • A workbench. What I have now is not impossible – it’s an MDF top on a metal cabinet base. It’s flat, well, except the corner that got wet and is now swelled. It does though, seriously lack in workpiece holding ability. While I haven’t ironed out all the details, I do know that this will be a “bench on a budget” so to speak. I don’t expect to have the resources for a large Roubo with expensive vise hardware, but I do think I can complete a bench that will be a huge upgrade over what I have, and not break the bank. I am coming from no specific experience, and therefore bias, toward certain vises or other wood holding systems, or styles of bench. My “vise” has  been a wooden screw clamp that is clamped to the bench top. I’m leaving on the table the various types of vises: metal jaw,  twin screw, leg vise, etc. Face vise with planing stops? Face vise and end vise? Some combination? Expect some further posts on this as things roll along.
  • In keeping in what I try to do with every project, whatever further furniture projects I end up doing, I will continue to incorporate some new joinery that I haven’t done before, or perhaps some other new technique I haven’t tried.
  • Continue to attend some woodworking events or classes. While my personal circumstances with a special needs child may prevent me from any significant travel, I do hope Fine Woodworking will have FWW Live close enough to home that I can make that drive again, and offer day passes. The Woodworking Shows will be coming to the area in the next couple of weeks, as well as perhaps the Design Build Show in Boston in February. I understand why WIA doesn’t typically move much beyond the Cincinnati area (there’s a LOT of stuff to move), but if they did find their way to southern New England, I would certainly try to attend that. There is also the fairly new Woodcraft in Walpole, MA that is now offering classes, so I plan on looking into their offerings as well.
  • And of course, anything can happen during the course of a year, so will keep an open mind to anything that comes along!

So Happy New Year everyone! Take care, be safe, and happy sawdust in the new year…

A Day At Fine Woodworking Live 2013

This post is following my usual theme of “better late than never”…

I got the chance a few weekends ago to spend a day in New Haven, CT to attend Fine Woodworking Live. The event was the whole weekend, however Fine Woodworking also offered day passes for this year’s event. Not to get into too much personal info, but since I have a special needs son, which has meant a very “tag-team” approach for my wife and I, I’m very happy the day passes were offered. I could go for the day, and be back that night.

It was great to see a couple of folks I hadn’t seen in a while, and meet for the first time others. Getting to spend time with fellow woodworkers is always a great part of an event like this. The day began with a presentation to all the attendees, and was then followed by the classes. What was nice is that the most popular classes (determined by a survey they gave to attendees prior to the event) were offered at multiple times. The common thing I took away from the event was the approachability of the instructors and the Fine Woodworking employees at the event. All the folks I spoke with either after classes or in the hallway were easy going and willing to answer questions and feedback.

Of course I took some pics while there (click on each for larger image):

I think I would be remiss if I didn’t share my thoughts on Fine Woodworking as an organization. When I first became interested in woodworking, my impression of Fine Woodworking was that it would be the magazine I would get once I “got good” at woodworking. It was the magazine for folks that had a great deal of experience, which I had yet to obtain. Shortly afterwards, I was invited by the Modern Woodworkers Association to take a tour of their offices and shop in Newtown, CT. It was then that I figured it might be a good time to check out the magazine, so I subscribed.

Once I had magazine in hand and took part in the tour, I realized my first impression was a bit off. With their mix of editor and contributor authored articles, it is a very much “how-to” magazine, with content suitable for multiple experience levels. When on the tour with Matt Kenney and Mike Pekovich, it was clear they were regular guys with a love for the craft.

Now that I’ve been a subscriber for a couple of years, attended Fine Woodworking Live, and listened to their podcast Shop Talk Live for some time now, it’s clear to me that they are working hard to lose any image they’ve had as a publication only for the professional or well experienced hobbyist with an aloof air to it. Shop Talk Live I find entertaining, and they don’t hide the fact that mistakes will be made (Smooth Moves is great section of their podcast).

So for anyone reading that may have a notion that Fine Woodworking is not for the everyday hobbyist or new woodworker, I would say to give them another look. Check out the magazine and their online membership, as well as their Shop Talk Live podcast. Of course, if you can make it to next year’s Fine Woodworking Live, I would highly recommend it. Even if you can’t make the whole weekend, I hope they will continue to offer the day passes – it was definitley worth going.

Double Dose of Goodness

The months of November and December have been great ones here at the shop. Allow me to explain…

November – The Puja Table is complete!

The Puja Table, the project that I had been working on for the better part of the past year, was finished back in November and given to my friend who it was for. This was my second furniture piece, and my first commission. When I completed my son’s work table and posted it on Facebook, he approached me about building him the puja table. After discussing some design items, and what wood to use, he gave me a deposit to buy the materials.

One of the reasons I did not cover the project in too much detail before (one blog post and one video), is that by the time the project was really taking shape, it was also getting to be a while since he asked for it. I spent a good amount of time sweating the details. I must honestly say he was more than patient though, which I really appreciated. My focus however, especially between August and November, was to finish it up to deliver to him before Thanksgiving.

When it was delivered, he was more than happy with the result. My first commission ended with a happy customer!

I had a few things I set as woodworking goals for this project.

  • I had worked with walnut some when making some paddle cutting boards and really liked how it is to work with. I helped “steer” my friend toward walnut as the primary species, as I really like the look of it as well. When I showed him some pictures online of projects made with walnut, he readily agreed.
  • Attempt a new joinery technique. This was my first attempt at sliding dovetails, which I used to join the leg pieced into the top. This definitely proved to be a challenge, especially with some limited tooling. With some finessing though, I was happy with the result.
  • This was also my first experience with spraying finish. In this case lacquer. Once I got the hang of it, things went pretty well. I did have to correct some overspraying and drip marks initially though.

Some pictures of the final piece. Click each for a larger view and info.


December – The Wood Whisperer Guild for Life!

I’m no longer one of those folks who can say that I never win anything. The Wood Whisperer had their yearly Holiday online party a couple of weeks ago, and as usual part of the festivities were prize giveaways. The prizes ranged from tshirts, USB thumb drives, DVDs, to Guild memberships. This year, saving it for last, the granddaddy prize was a lifetime Wood Whisperer Guild membership. When I heard my name as the winner, I had to pick my jaw up from my desk! I was surprised and excited beyond belief. I was now a Wood Whisperer Guild member for life!

Now, if you don’t have any experience with the Guild, you can find out more and sign up here. I joined the Guild last year when Marc had a one night sale (after the 2011 Holiday party) of 50% off. I was able to sign up for the three month option, which I then renewed that next spring for one year. Since then the Guild has been restructured to have various levels of access. You can gain access to the “a la carte” version, where you pick which projects you want, or an option to gain access to all the currently existing projects. Again, check out the link. There is a section that explains all the levels available that goes into more detail than what I am here.

So now the next question… why join the Guild? After all, there is a reason why I renewed my membership before winning the lifetime membership. In short, because it’s a great resource – both in knowledge and the community. The level of detail that Marc goes into in the videos that accompany each project is incredible. There is also access to help for your project, and interviews with experts that are recorded and posted if you can’t make a live event. Even if you’re not in a position to build the particular project that is ongoing at the time, the insight that you can gain when watching the videos can be easily brought to whatever project you are working on. Having that level of education at your fingertips really makes it a no brainer in my opinion.

So am I excited I won the lifetime Wood Whisperer Guild membership? “Heck yeah” would be an understatement.

Merry Christmas and Happy New Year everyone!